






Shop
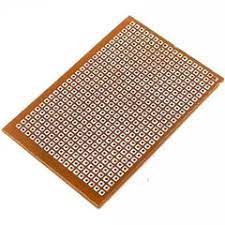
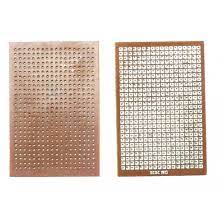
PCB 2X3
In stock
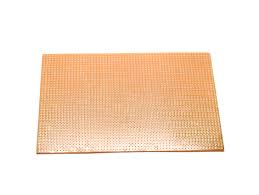
Zero PCB is basically a general-purpose printed circuit board (PCB), also known as perfboard or DOT PCB. It is a thin rigid copper sheet with holes pre-drilled at standard intervals across a grid with 2.54mm (0.1-inch) spacing between holes. Each hole is encircled by a round or square copper pad so that component lead can be inserted into the hole and soldered around the pad without short-circuiting the nearby pads and other leads. For connecting the lead of component with another lead, solder these together or join these using a suitable conducting wire.
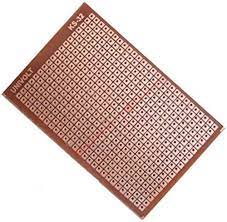
PCB 4X4 INCH
In stock
The Multipurpose Pcb Board Is A Useful Tool For Developing Prototypes For New Projects And Building A Circuit From 0 Level. Requires Medium Level Of Circuit Construction Level Knowledge. The Board Is A Strong And Clear Epoxy Type Board With Pre-drilled Mounting Holes. The Oxide Free Surface Allows Easy Soldering And Strong Tin Hold.
PCB 6X4
In stock
Features
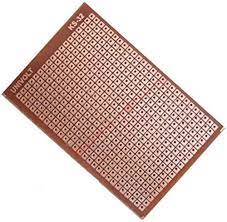
- Excellent heat resistance
- 1mm pitch design with high-quality copper-clad manufacturing
- High wear and tear properties
- Utilize to construct your own DIY, breakout, circuit, and other industrial boards.
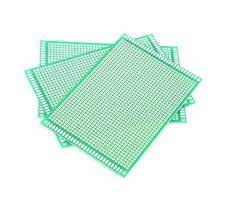
PCB 6X4 GREEN GLASS
In stock
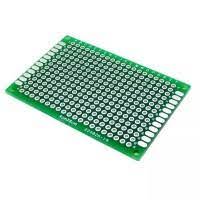
High Quality FR-4 Glass Fiber Dot Matrix Double Side Prototype Printed Circuit Board (PCB)
Size: 40mm x 60mm, Total Holes: 280 (14×20) + 12×2 (24) Oval Pads Both Side, Hole Diameter : 1mm,
Pitch: 0.1″ (2.54mm), Thickness: 1.6mm, Material : FR-4 (glass fiber).
PCB 8X4
In stock
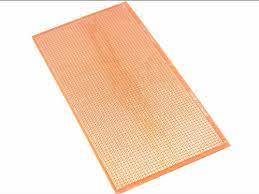
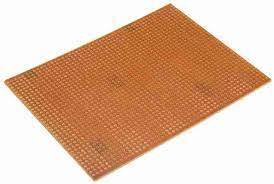
This is 8 inch by 4 inch (20.2 cm – 10.2 cm) high quality single sided Universal PCB Prototyping Board with standard 0.1″ spacing through Holes. This board can be used to build big sized circuits.
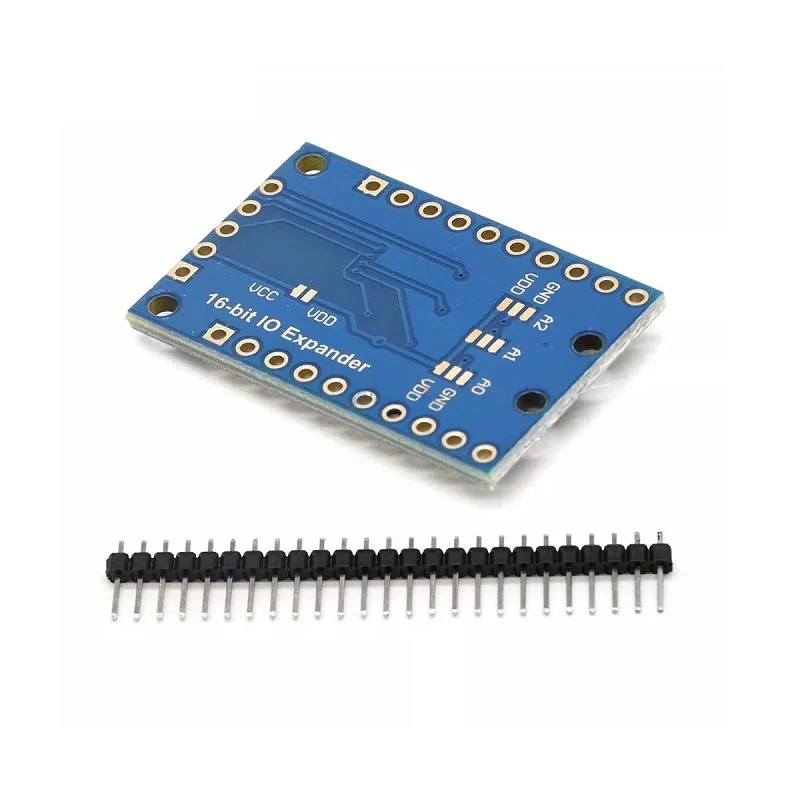
PCF8575 Module
In stock
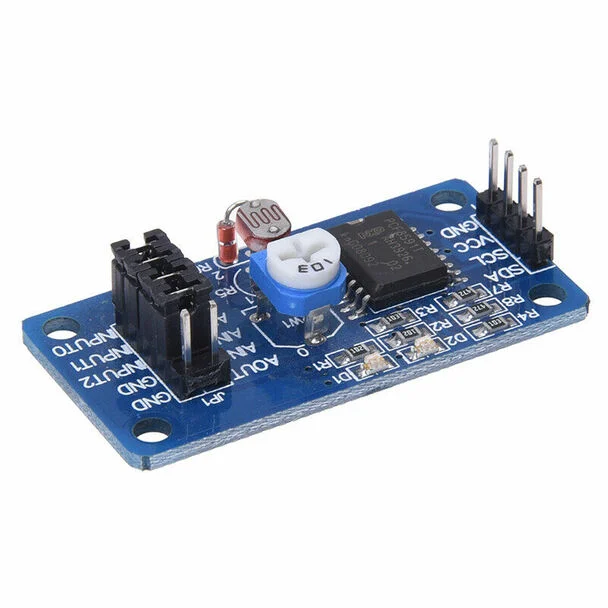
PCF8591 Module Analog to Digital Module Converter
In stock
This is a breakout board/Prototype Board for PCF8591 IC. The PCF8591 is a single-chip, single‑supply low‑power 8‑bit CMOS data acquisition device with four analog inputs, one analog output, and a serial I²C‑bus interface. Three address pins A0, A1, and A2 are used for programming the hardware address, allowing the use of up to eight devices connected to the I²C‑bus without additional hardware. Address, control, and data to and from the device are transferred serially via the two-line bidirectional I²C‑bus.
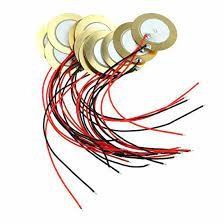
PEIZO PLATE 10mm with Wire
In stock
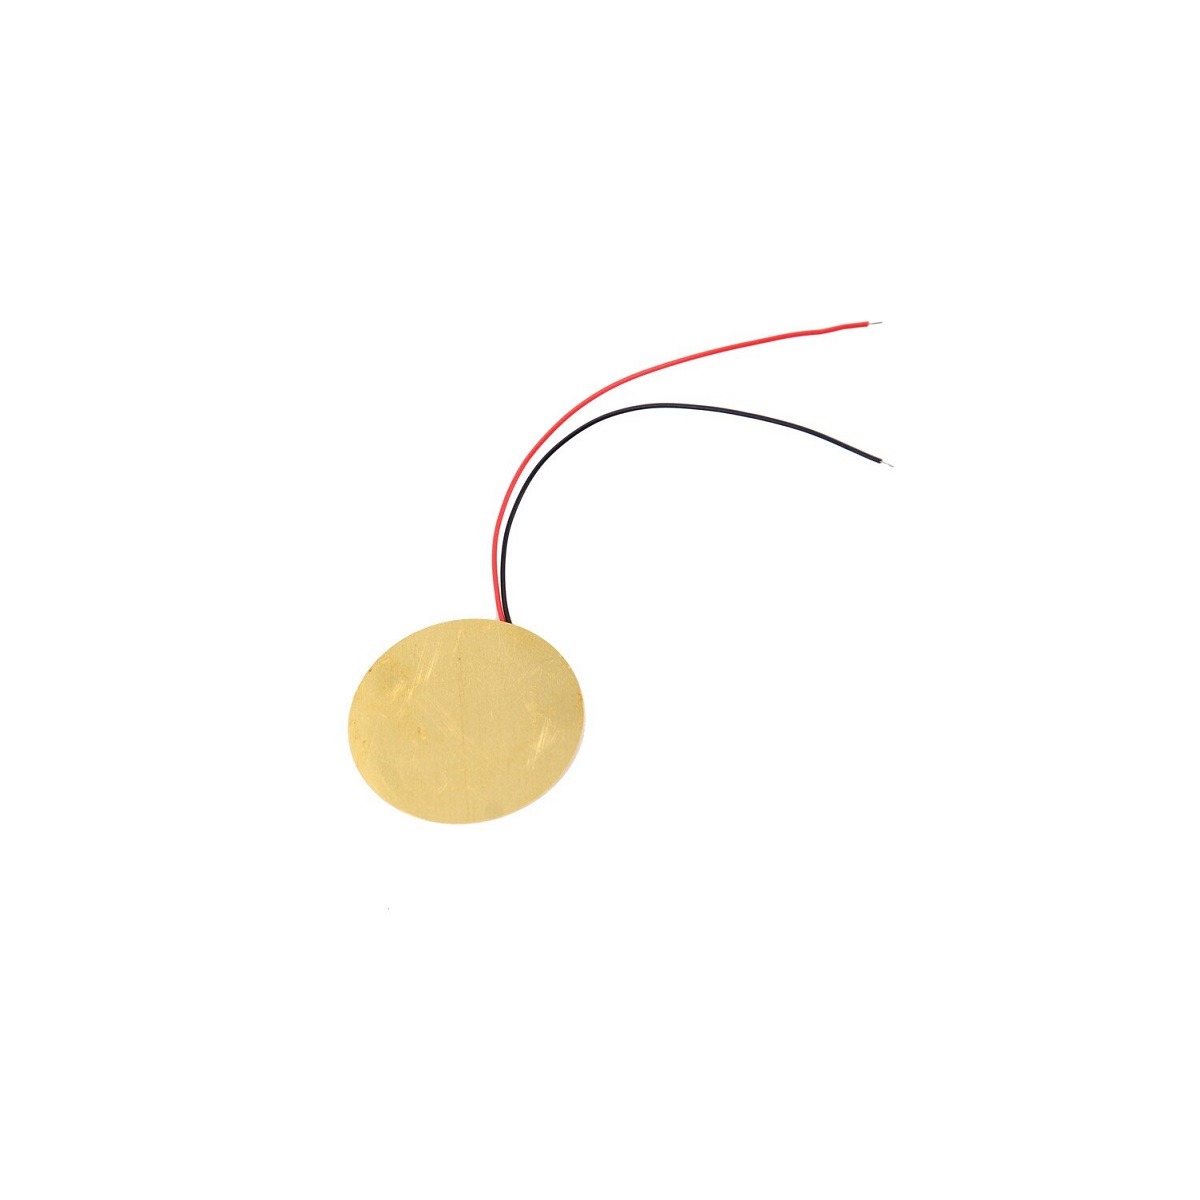
Uncased piezo elements Speech and music applications Wide tonal response 12mm with flying leads Specification: Resonant frequency(KHz) Fs=9.0±1.0 Resonant impedance(Ω) Rr≤500Ω Capacitance at 120Hz(NF) Co=11±30% Operating Temperature(°) -20∽+70 Storage Temperature(°) -30∽+80 Color: As the pictures shown Material: Copper,PVC Size: Metal Plate Diameter(mm) : 12 Cable Length: 7cm

PEIZO PLATE 27MM
In stock
A piezoelectric transducer converts mechanical force into electrical output. This is made up of Quartz crystal which contains SiO2. Piezoelectric crystals are electrically neutral. The atoms inside the crystals in an unsymmetrical manner but their electric charges balanced
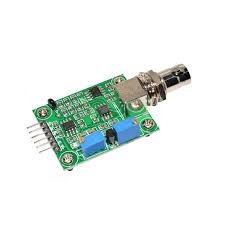
PH Sensor Board Only Imported
In stock
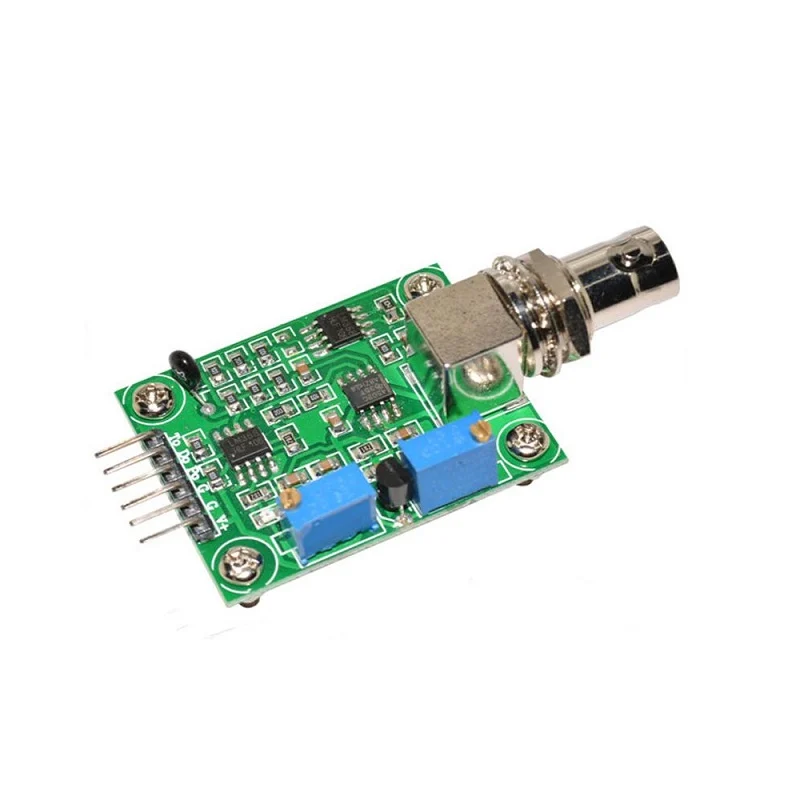
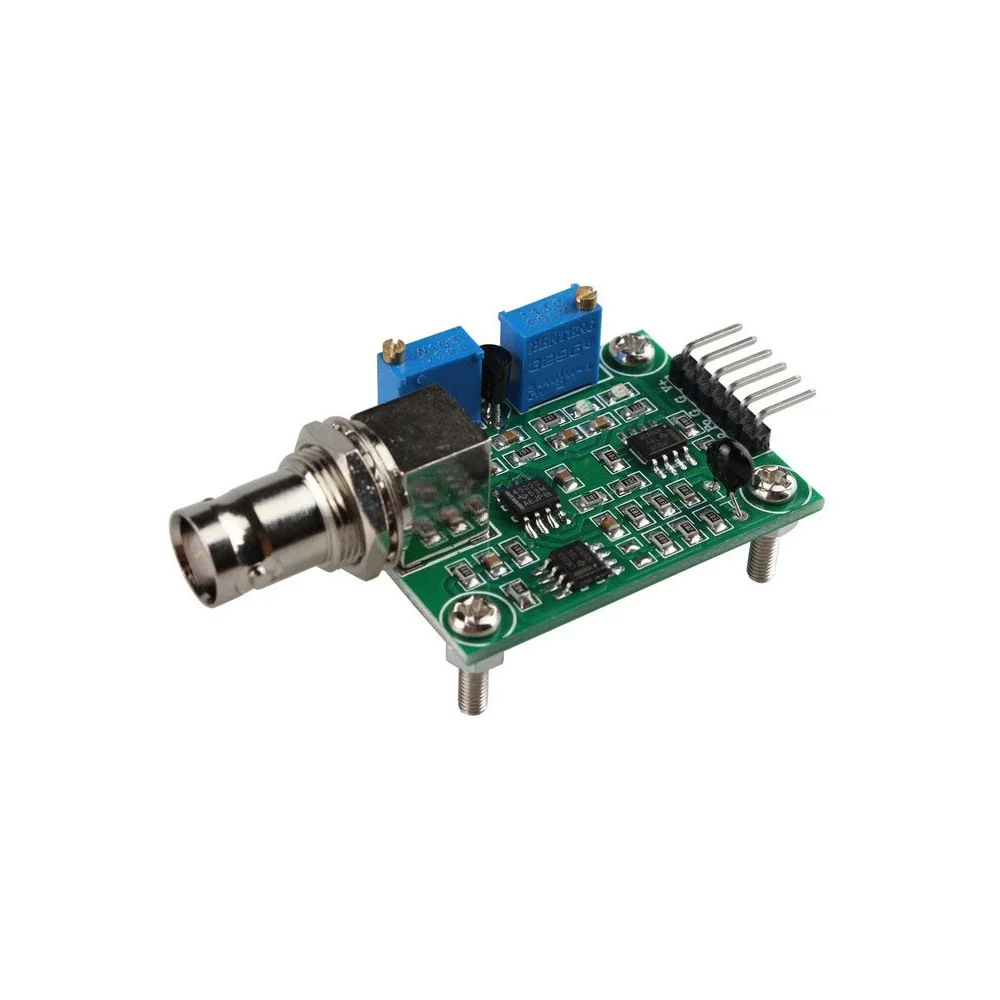
The pH stands for the power of hydrogen, which is a measurement of the hydrogen ion concentration in the body. This is used in Water quality testing and Aquaculture. The total pH scale ranges from 1 to 14, with 7 considered to be neutral. A pH less than 7 is said to be acidic and solutions with a pH greater than 7 are basic or alkaline.
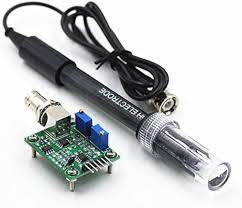
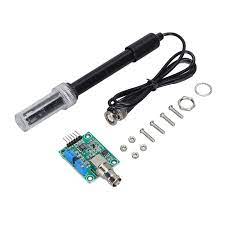
The PH electrode has a single cylinder that allows direct connection to the input terminal of a pH meter, controller, or any pH device which has a BNC input terminal. The pH electrode probe is accurate and reliable that can give almost instantaneous readings.
PH SENSOR KIT
In stock
Step to Use the pH Meter:
Cautions:
- Please use an external switching power supply, and the voltage as close as possible to the +5.00V. More accurate the voltage, the higher the accuracy!
- Before the electrode is continuously used every time, you need to calibrate it by the standard solution, in order to obtain more accurate results. The best environment temperature is about 25 ℃, and the pH value is known and reliable, close to the measured value. If you measure the acidic sample, the pH value of the standard solution should be 4.00. If you measure the alkaline sample, the pH value of the standard solution should be 9.18.Subsection calibration, just in order to get better accuracy.
- Before the pH electrode is measured in different solutions, we need to use water to wash it. We recommend using deionized water.
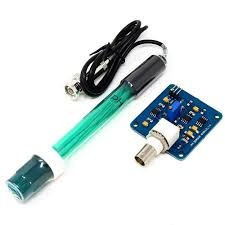
- Connect equipment according to the graphic, that is, the pH electrode is connected to the BNC connector on the pH meter board,and then use the connection lines, the pH meter board is connected to the analog port 0 of the Arduino controller. When the Arduino controller gets power, you will see the blue LED on board is on.
- Upload the sample code to the Arduino controller.
- Put the pH electrode into the standard solution whose pH value is 7.00,or directly shorten the input of the BNC connector. Open the serial monitor of the Arduino IDE, you can see the pH value printed on it, and the error does not exceed 0.3. Record the pH value printed, then compared with 7.00, and the difference should be changed into the “Offset” in the sample code. For example, the pH value printed is 6.88, so the difference is 0.12. You should change the “# define Offset 0.00” into “# define Offset 0.12” in your program.
- Put the pH electrode into the pH standard solution whose value is 4.00. Then wait about one minute, adjust the gain potential device, let the value stabilize at around 4.00. At this time, the acidic calibration has been completed and you can measure the pH value of an acidic solution.
PH SENSOR KIT IMPORTED
In stock
kindly check the usage and specification of product before buying to operate it as per specifications, This is a laboratory probe, it can’t be immersed in the liquid for a too long time, If you want to measure the pH value of other solutions, you must wash the pH electrode first!
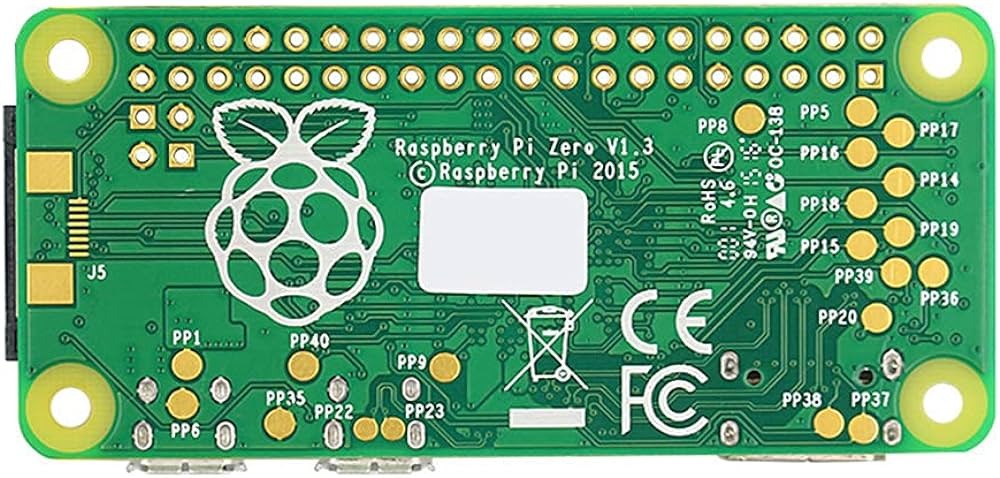
Pi Zero W Only Board
In stock
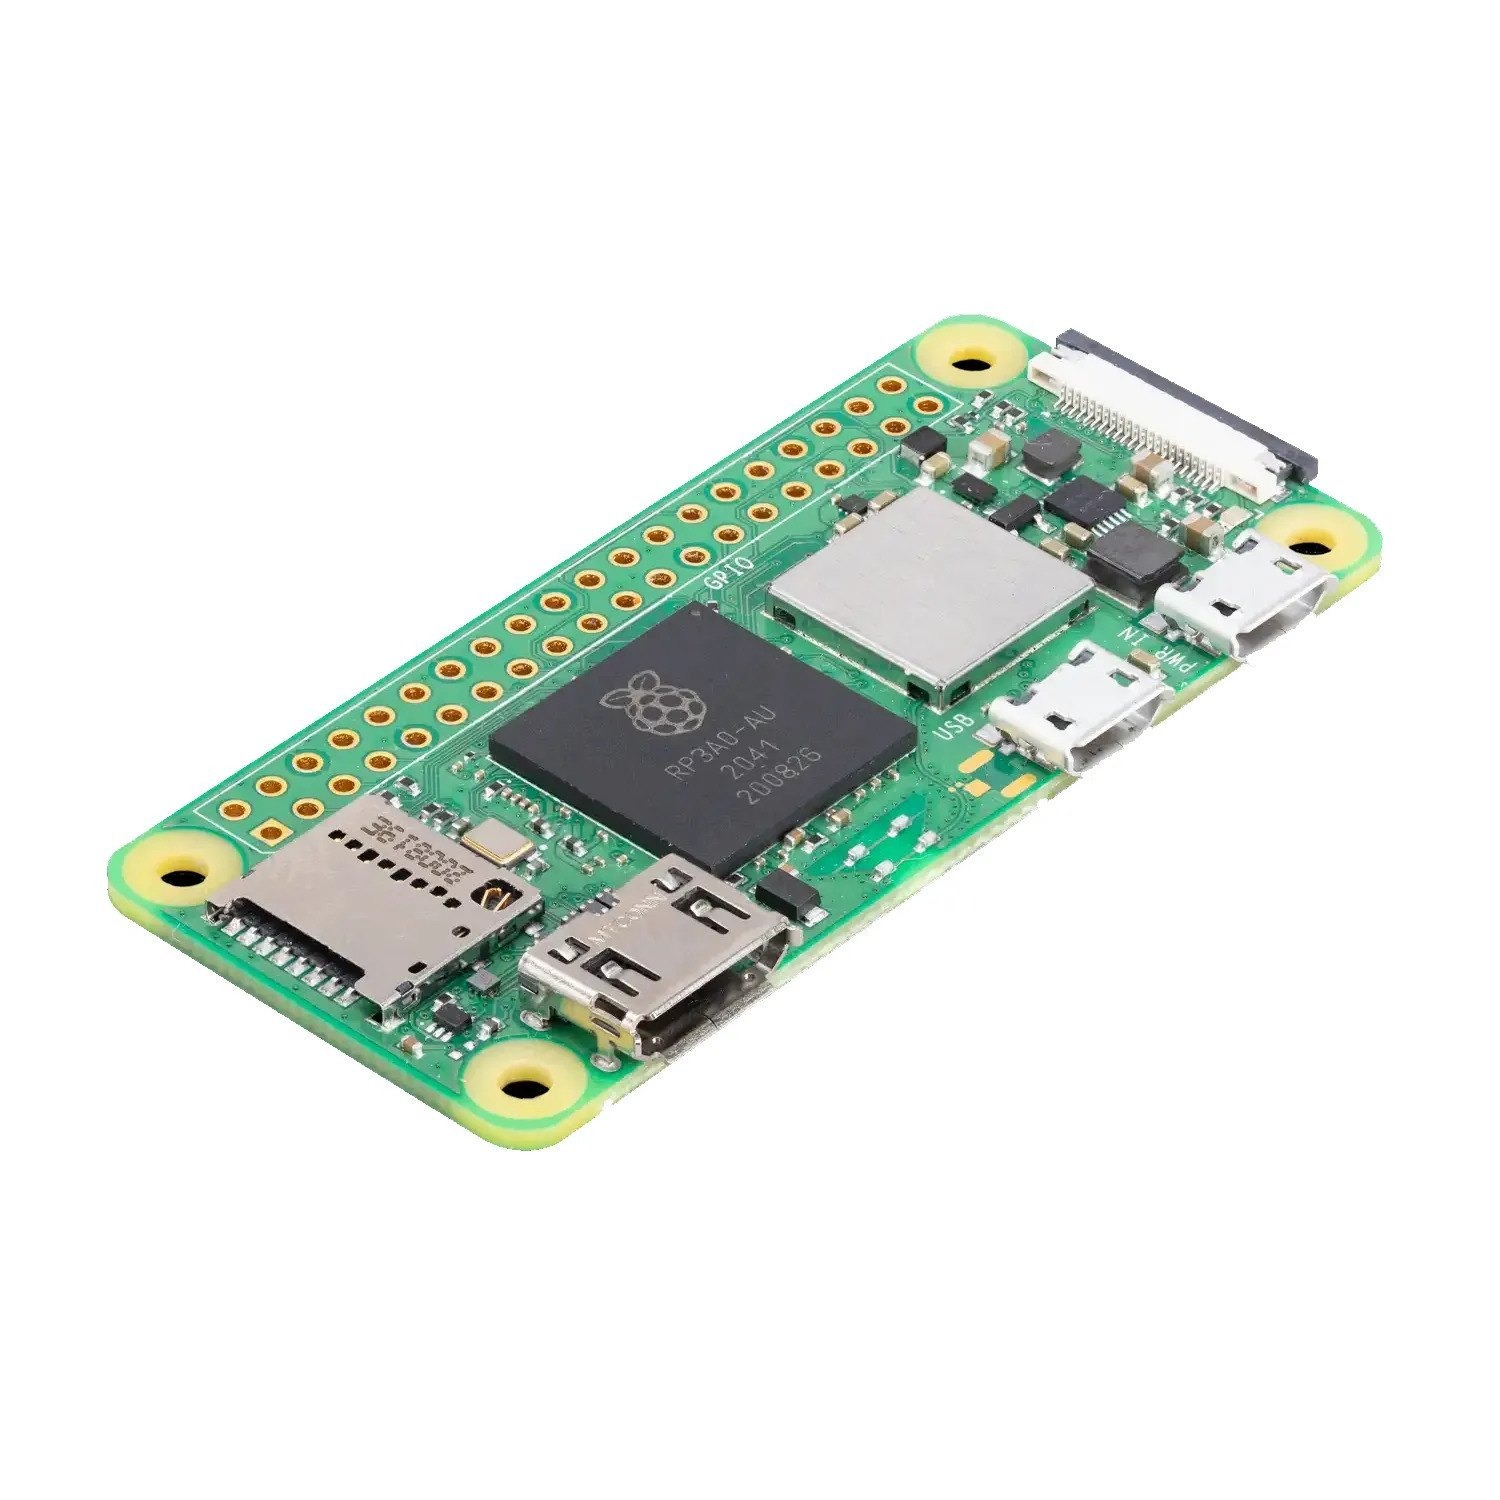
Features:
- 1Ghz, Single-core CPU
- 512MB RAM
- Mini HDMI and USB On-The-Go ports
- Micro USB power
- HAT-compatible 40-pin header
- Composite video and reset headers
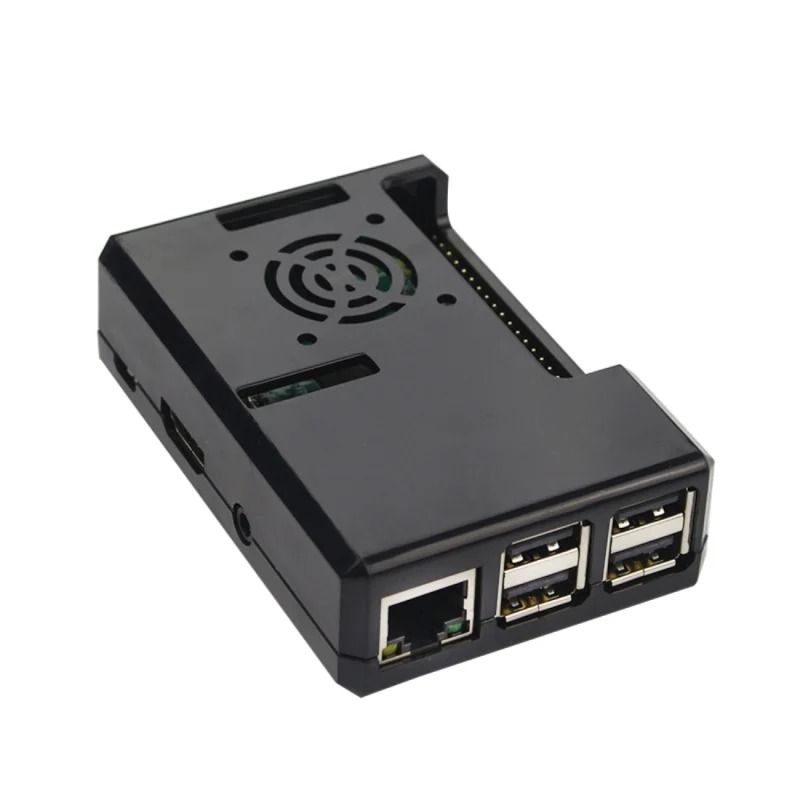
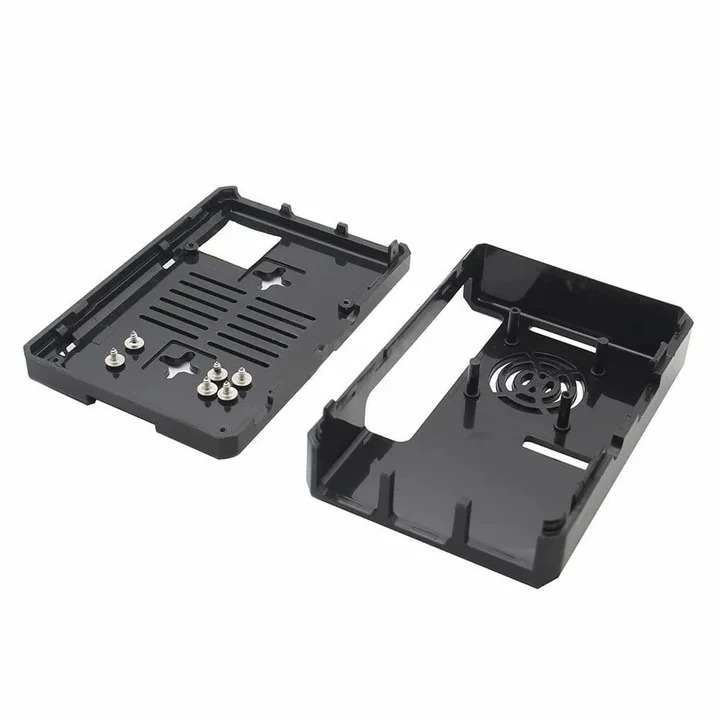
PI3 CASE BLACK with Fan Vents
In stock
Features :
- Made with ABS plastic
- B+ Size
- Equipped with the breather hole
- Smooth surface
- Easy to fixed
- Unibody, easy to install
- Colors: Black.
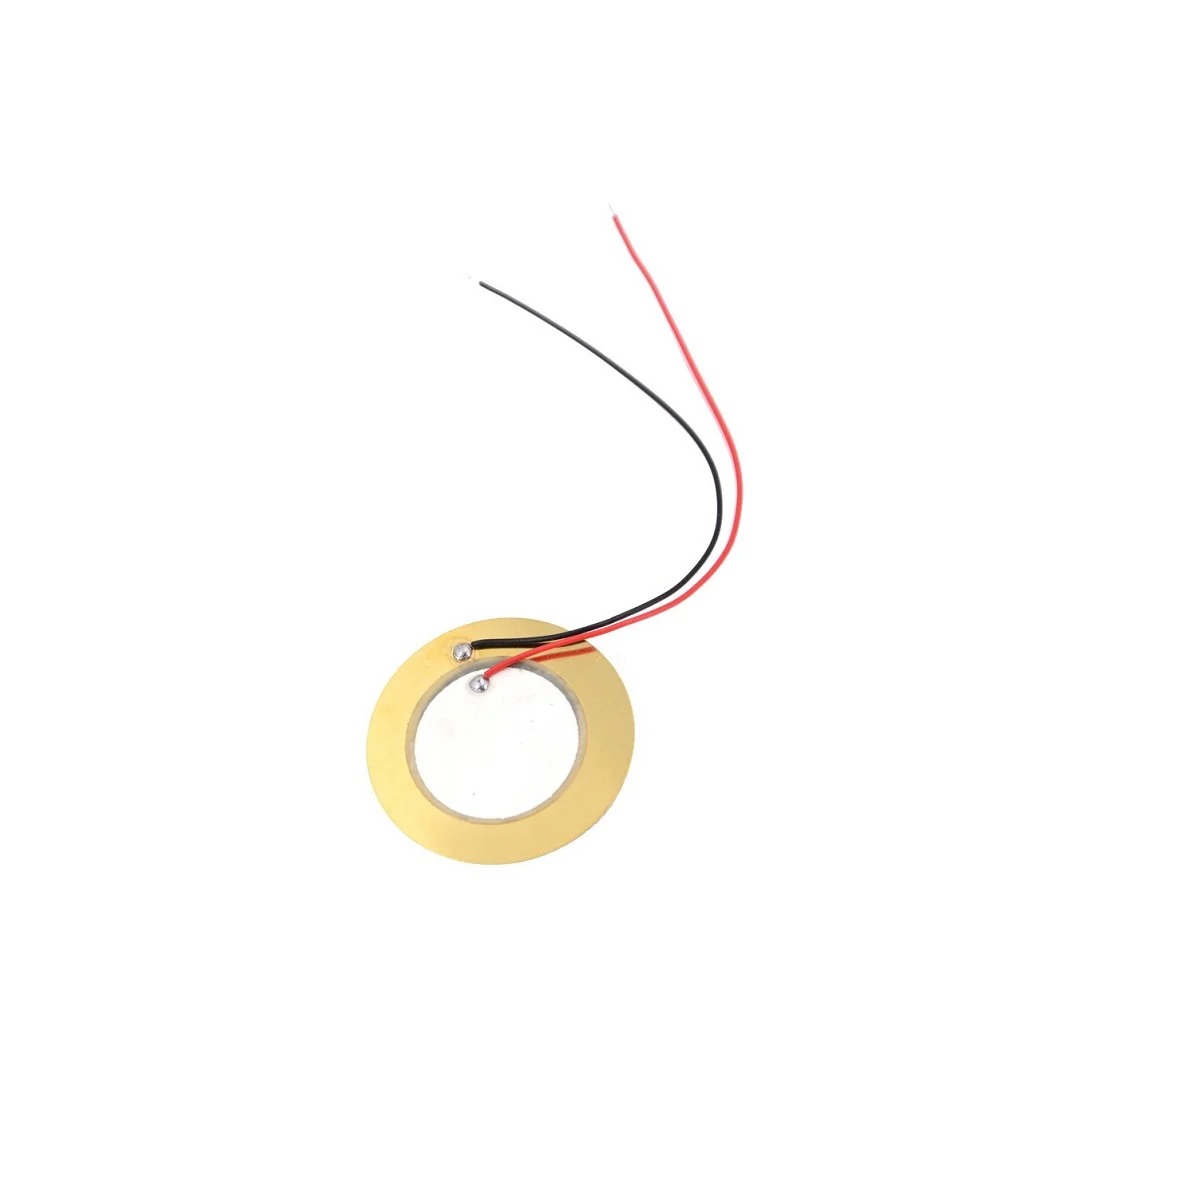
Piezo Buzzer 40mm with Cable
In stock
This is a pack of 1 piezoelectric elements, pre-wired with leads to save you having to solder the leads on yourself. 40mm is a perfect size for installing in cigar box guitars, foot stompers and other home-made instruments. They can also be used for custom pickup arrangements in more traditional stringed and percussion instruments.
Piezo Plate 35mm
In stock
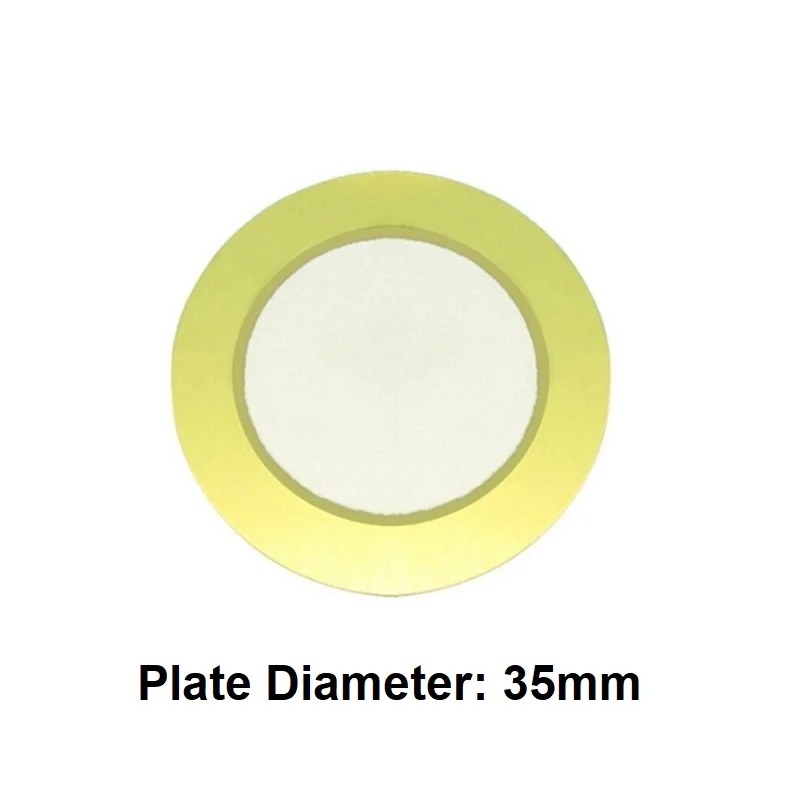
A piezoelectric transducer converts mechanical force into electrical output. This is made up of Quartz crystal which contains SiO2. Piezoelectric crystals are electrically neutral. The atoms inside the crystals in an unsymmetrical manner but their electric charges balanced.

PIR Motion Sensor
In stock
Features :
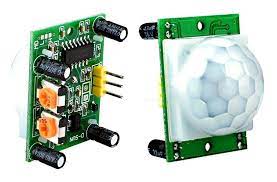
- Infrared Sensor with Control Circuit Board
- The Sensitivity and Holding Time are adjustable.
- Blockade time: 2.5s (Default)
- Sensitive Setting: Turn to Right, Distance Increases (About 7M); Turn to Left, Distance Reduce (About 3M)
- Time Setting: Turn to Right, Time Increases (About 200S); Turn to Left, Time Reduce (About 5S).
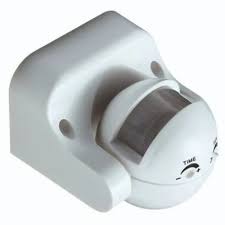
PIR MOTION SENSOR S221 – 220V
In stock
Installation
Shut off the power.
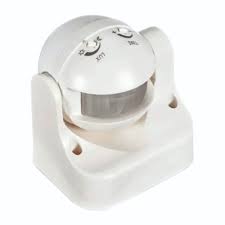
Loosen the screw on the bottom lid. open the wining hole, pass the wire of power, and load through the bottom lid.
Fix the bottom lid with an inflated screw on the selected position.
Connect the power and load wire into the connection-wire column.
Put the sensor on the bottom lid, twist the screw tightly then electrify it and test it.
Test
Turn the light-control knob clockwise to the maximum (SUN), turn the time knob anti-clockwise to the minimum. Switch on power, the controlled load should not work, under the no induction signal condition, the load should stop work within 5-30sec. Make it sense again 5-10sec later since the first is out, the load should work, the load should stop working within 5-20sec. Turn the LUX knob to minimum anti-clockwise, if you test it when the light control is more than 3LUXx, the induction load would not work after the load stops working. the load should work if you cover the detection window with an opaque object (towel etc). It would be regular the load stops to work within 5-15sec under no induction signal condition.